This guide provides a step-by-step process for creating an invoice through a contract.
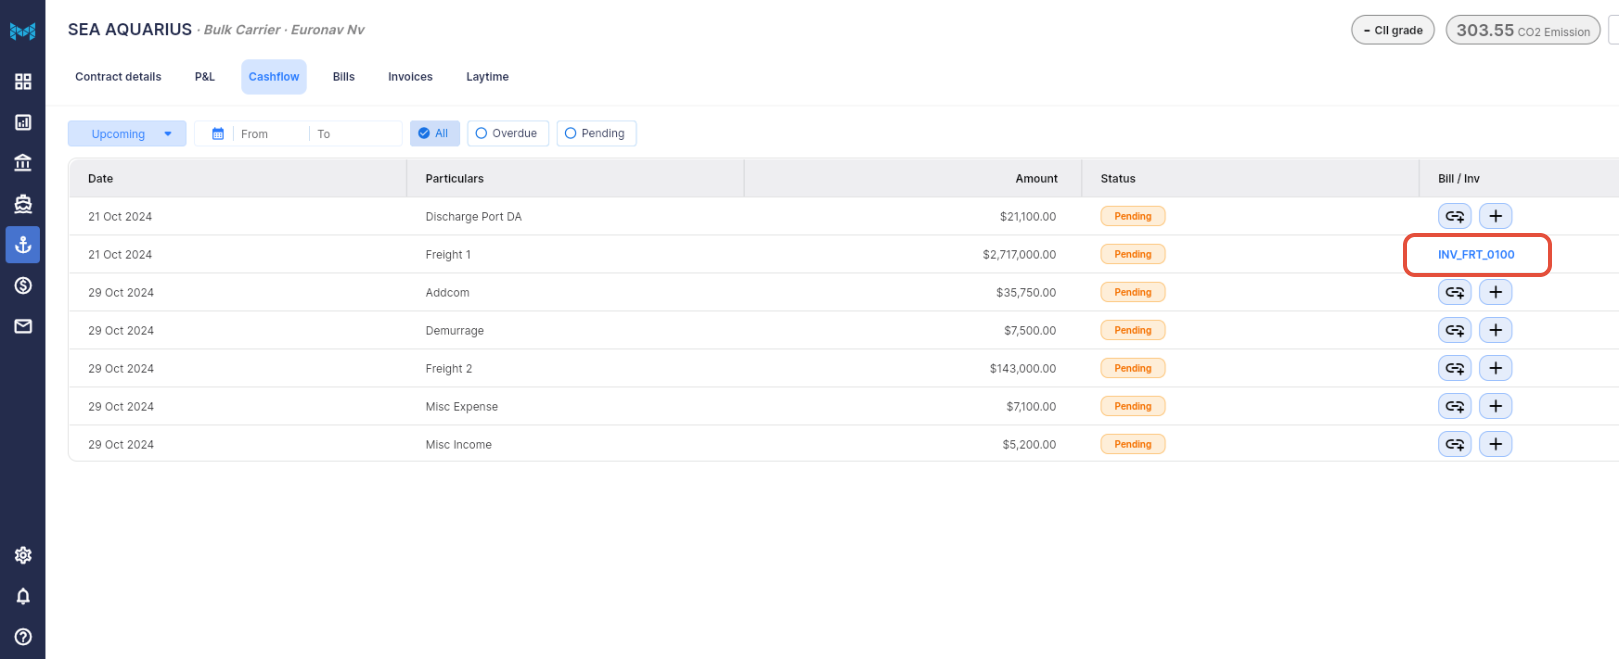
After creating the contract, proceed to the contract details page and select the cash flow tab.


Step 1: Initiate the invoice creation for the freight by clicking on the plus sign.

Step 2: Observe that the fields for selecting a customer, contract, invoice category, and invoice tab are filled automatically from the relevant contract information associated with the customer.
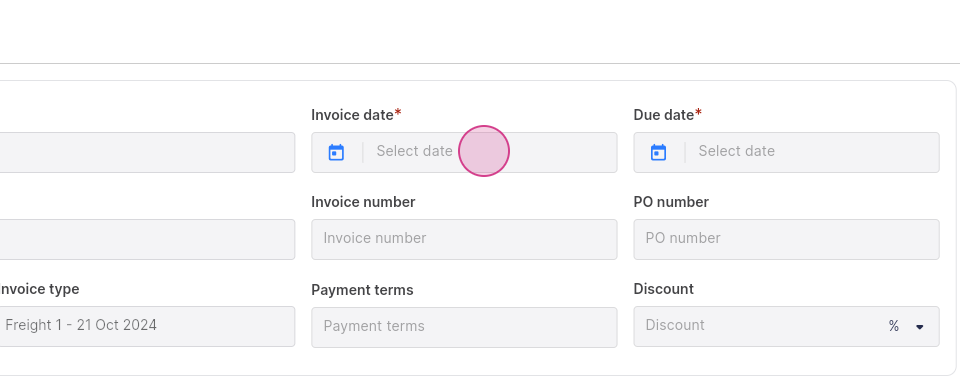
Step 3: On the right, you'll see the invoice and due dates. Click on each field.

Step 4: Use the calendar to select the appropriate dates.


These dates are essential for tracking when the invoice was created and when the payment is expected.

Ensure the due date and the invoice date align with the terms agreed upon with the customer.
Step 5: Move on to the invoice number and the PO number.

You can either manually create a unique bill number or allow the system to generate one for you. The purchase order should correspond to the customer's purchase order, if available.
Step 6: Choose the payment terms appropriately.

For example, NET 5 would mean payment is expected within 5 days.

Step 7: Apply any percentage or amount of discounts agreed upon with the customer in the discount field.

Step 8: Proceed to the item section.

Enter the item name and a clear description of it. Input the cost and the quantity for it. The platform will automatically calculate the total. At the bottom, observe the current exchange rate.

Step 9: At the top, there’s an option to allow partial payments.

If you’d like your customer to have the flexibility of making partial payments towards this invoice, toggle this switch to enable it. Set a minimum partial amount and the corresponding due date for it.

Step 10: Review the invoice. Click on the "preview" button to get a full view of the invoice as the customer will see it.

Double-check the details to ensure everything is accurate. When done, click on "send email".

Confirm the invoice details and click on "send" again. The mail will be sent.

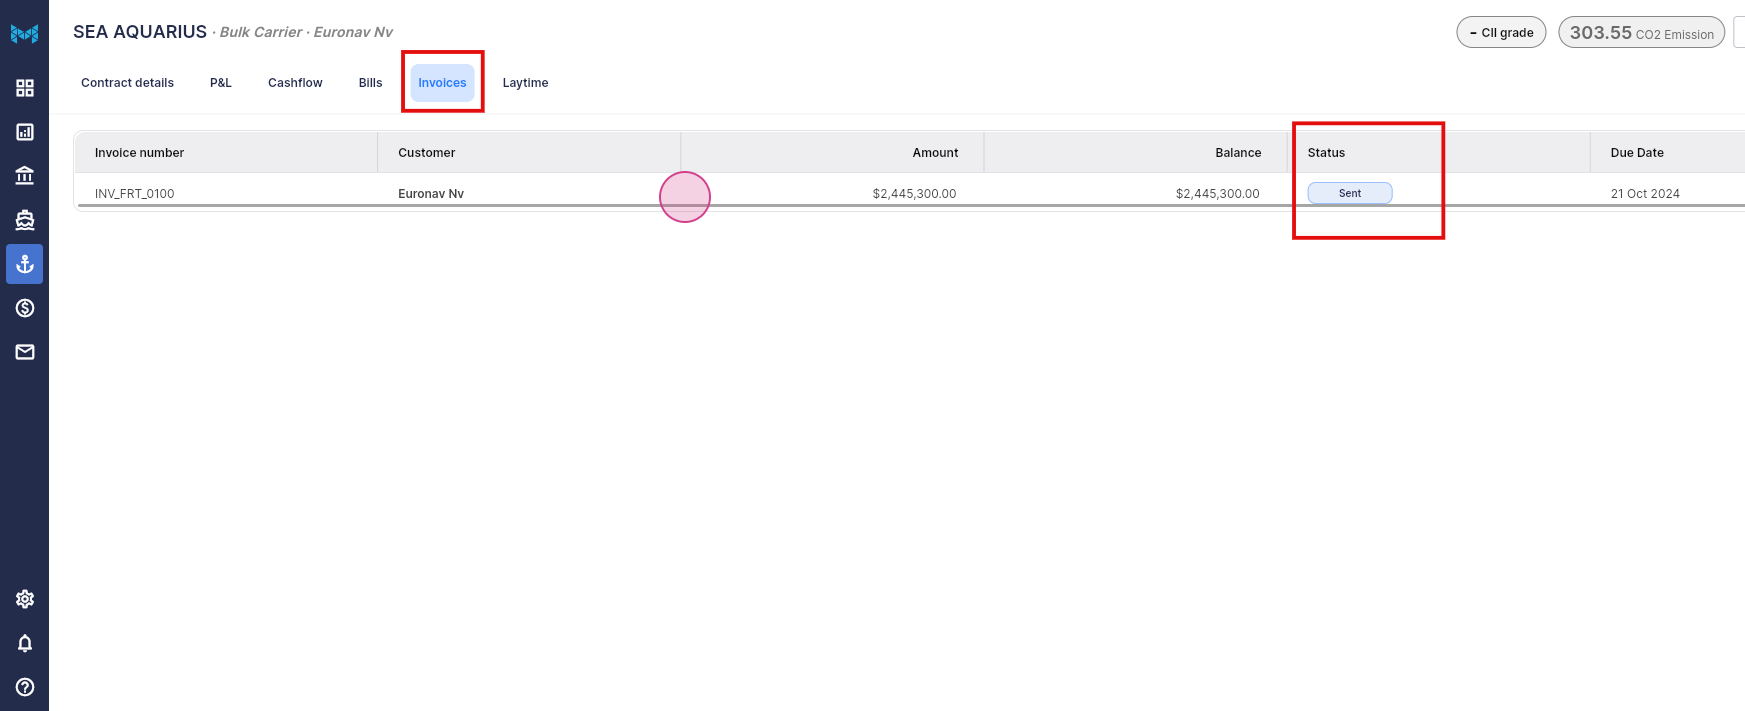
Step 11: Check the invoices tab. The status will be "sent", along with the invoiced amount.


Click on it to see the invoice details just created. Mark this as paid or resend the email if necessary.
Step 12: Explore the different tabs on the top to see the contact.


Upload any document relevant to this invoice.

Step 13: Go to the cash flow tab for the linked invoice.

Was this article helpful?
That’s Great!
Thank you for your feedback
Sorry! We couldn't be helpful
Thank you for your feedback
Feedback sent
We appreciate your effort and will try to fix the article